Blog/Print Tips
Step-by-Step Guide
How to prepare print-ready files in six steps
Most print delays start with the file, not the press. Follow these six steps and your job can go to production without a round of corrections.

I will be direct: most print delays do not start at the press. They start with the file. A job that arrives ready can go into production the same day. A job that arrives with the wrong size, low-resolution photos or missing fonts goes back to the customer first, and the deadline does not move with it.
These are the six things I would check before sending any file to a printer, ours or anyone else's.
Build the page at the final size
Set up your document at the exact size of the finished piece. A standard business card is 3.5 by 2 inches. A letter-size flyer is 8.5 by 11. If you design at one size and ask us to scale it to another, the margins change, thin lines get thinner and photos can go soft.
If you are not sure what size you need, ask before you design. It takes one message and saves a redesign.
Work in CMYK
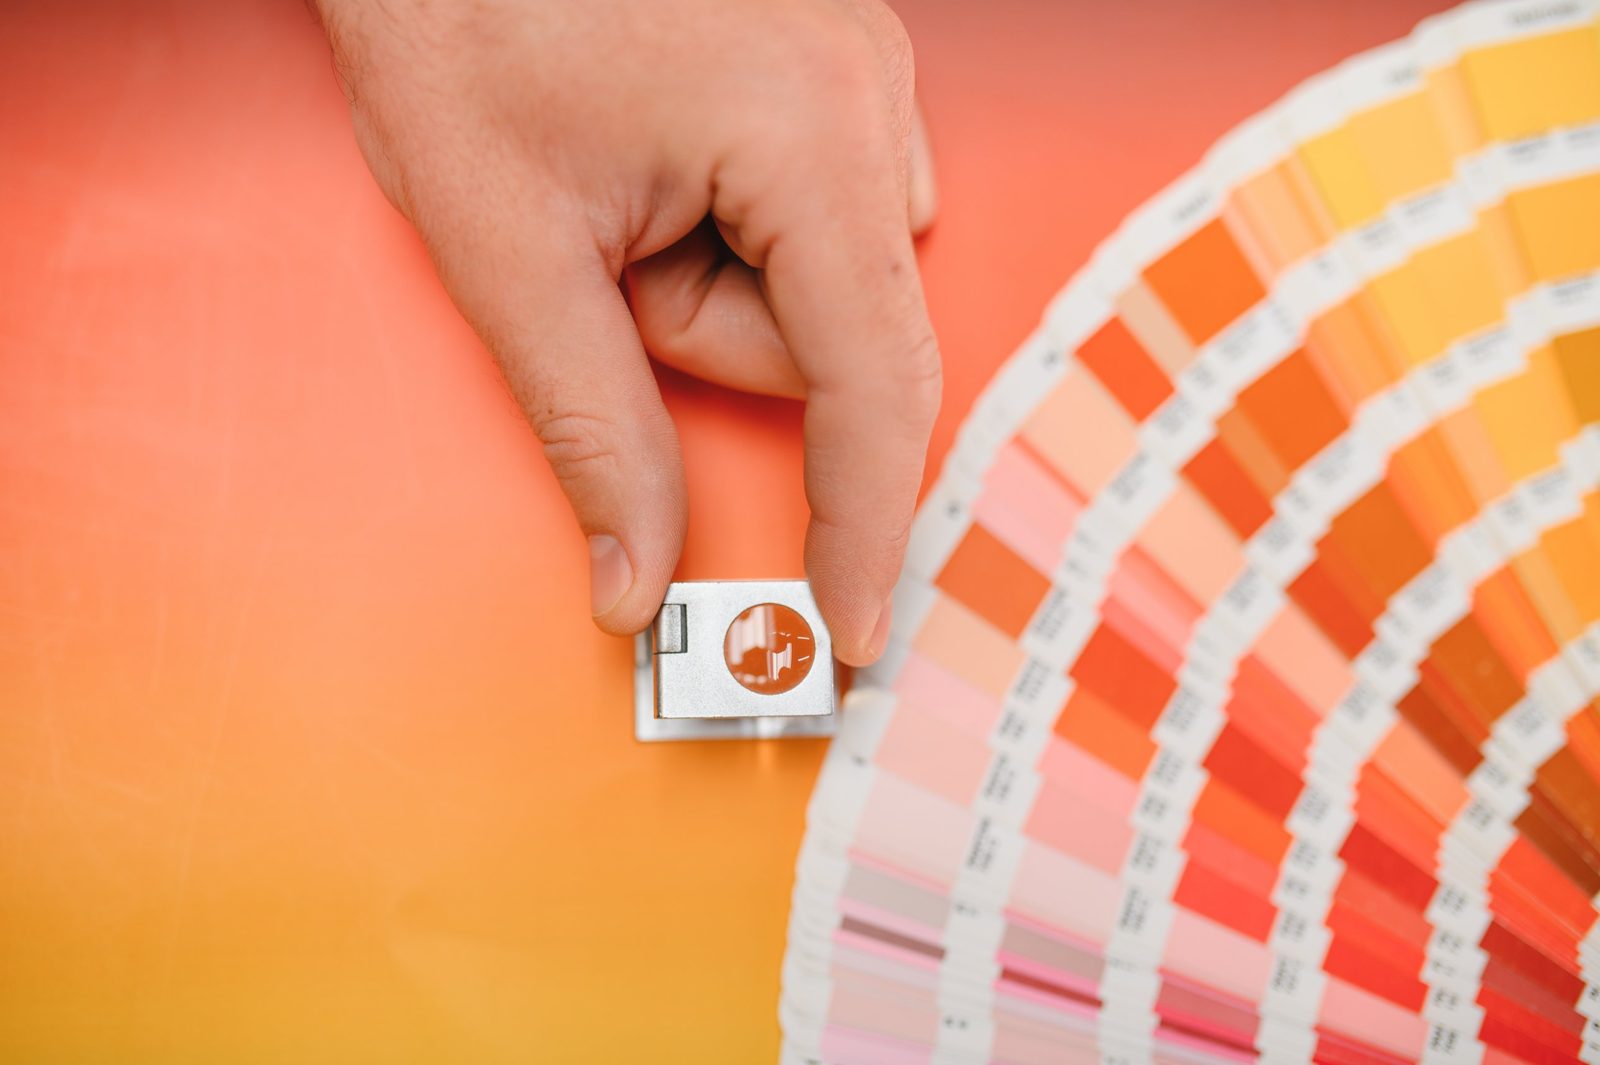
Screens create color with light: red, green and blue. Presses create color with ink: cyan, magenta, yellow and black. A file built in RGB has to be converted before it prints, and the bright colors that looked great on your monitor are the ones that shift the most.
Set the document to CMYK from the start. What you approve on screen will be much closer to what comes out of the box.
Use images at 300 dpi
For anything a person holds in their hand, images should be 300 dpi at the size they will print. A photo saved from a website or a social media post is usually 72 dpi. It looks fine on a phone and pixelated on paper.
Enlarging a small image does not add detail. If the original is too small, you need a better original. Large pieces that are viewed from a distance, such as banners, are the exception and can use a lower resolution.
Add bleed and a safe margin
If a photo or a background color runs to the edge of the page, extend it 1/8 inch past the trim line on every side. That extra area is called bleed, and it gets cut off. Without it, the smallest shift at the cutter leaves a white line along the edge of your piece.
Then do the opposite with everything important. Keep text and logos at least 1/8 inch inside the trim line so nothing gets clipped.
Embed or outline your fonts
If we do not have the font you used, the software replaces it with another one. Line breaks move, text reflows and your layout is no longer your layout. Embedding the fonts when you export, or converting the text to outlines, locks everything in place.
Export one press-quality PDF
Save the final file as a PDF using a press-quality or PDF/X setting, with the bleed included. A PDF keeps fonts, images and colors together in a single file that opens on our side exactly as it left yours.
Send one final file, clearly named. Not four versions and a note that says "use the second one, I think."
Before you hit send
A quick check catches most problems:
- Is the page at the final trim size?
- Is the document in CMYK?
- Are all the photos sharp when you zoom in to 100%?
- Does the background extend past the edge on all four sides?
- Has someone other than you read every word?
That last one is not a file setting, but it prevents more reprints than the other four combined. A typo in a phone number is still a typo after 5,000 copies.
Not sure your file is ready? Send us what you have. It is much faster to check a file before it goes to press than to reprint the job. Request a quote and attach it.